In the realm of sound engineering, the term ‘muddy mix’ is likely to inspire a sense of dread or frustration. This phenomenon refers to a sound mix that lacks clarity and distinctness, typically occurring due to an overabundance of certain frequencies that ends up masking other critical elements of the sound. However, the solution isn’t as elusive as you might think, especially once you comprehend the audio frequency spectrum, the role of equalization techniques and the careful approach to compression in mixing. This essay dives deep into these critical components of audio production to offer practical advice on how to salvage and prevent a muddy mix, enabling enthusiasts and hobbyists to reach a greater sophistication in their craft.
Understanding Sound Frequency Spectrum
Alright dude, let’s talk some gnarly acoustics. You ever been just hangin’ five on a sick track only to realize it’s turned into a murky mess of sound? That’s not chill, bro. But don’t worry, ’cause we’re gonna talk about the audio frequency spectrum and how you can ride its wave to de-mud that grody mix.
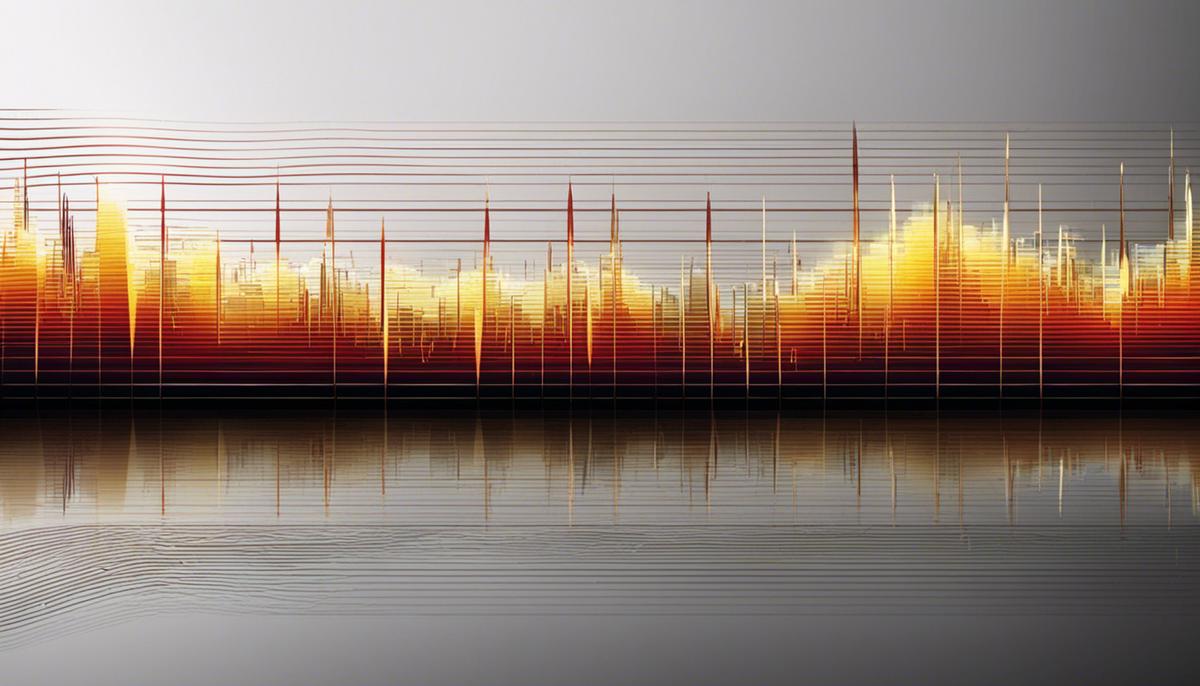
The audio frequency spectrum, right? It’s like the rainbow of sounds. And just like a rainbow, each color—or in this case, each frequency—has its own vibe. If you want your sound not to be a bummer, those vibes have to jive together.
Everything kicks off with bass frequencies, those low, deep sounds that are kind of like the big kahunas of the surf—strong and steady. They’re going to be between 20 to 60 Hz. These dudes carry a lot of the power and warmth in your track, but if they crash against the other frequencies, they can create a lot of messy turbulence. Like, can’t-see-where-you’re-riding kind of stuff.
Moving up, we’ve got the low-mids from 60 to 250 Hz. This is where stuff like the lower range of vocals, bass guitars, and kick drums sit. These are like the perfect wave, man – fundamental to the sound, but can totally wreck your mix if they’re too overpowering.
Then come the mid-range frequencies, sitting chill between 250 Hz to 2 kHz. This range is the main wave that most instruments ride on. Important, bro, but you don’t want it too crowded, or you’re gonna wipe out.
And lastly, the highs, 2 kHz and up. High frequencies are like the sea foam on the crest of your wave, giving it that sparkle and definition. But, too much of it, and it’s like being smacked in the face by a salty wave, dude. Not cool.
So, how does this help with your muddy mix? Imagine each track is like a surfer, ok? Each surfer has their own territory on the wave. If everyone tries to ride the same area, there’s gonna be collisions, and everyone goes face-first into the sea foam. But if each surfer gets their own zone, everyone catches the wave smoothly.
This is what EQ is for – shaping each track’s frequency just right so that everybody’s having a groovy time without the clash. It helps to cut more than you boost, emphasizing the sweet spots while ducking out of the traffic.
Make sense, dudes? I hope so, ’cause there’s nothing more killer than a mix where everything has its own hangout spot on the frequency spectrum. It’s like every instrument is catching its own perfect wave. So, give it a shot, dudes, and clean up that muddy mix with a fab dose of frequency knowledge. Catch you on the flipside!
Practical Equalization Techniques
Stoke-Up Your Tracks: Clearing the Muddy Mix with EQ Techniques
Dudes and dudettes, ever hit that gnarly wave and get swallowed by the monster foam only to emerge, overjoyed by the chaotic beauty? Well, that’s exactly what it feels like when your mix swims in a sea of muddy audio waters. But fear no more, for these tight equalization (EQ) techniques are your surfboard to ride that crazy audio wave to clarity.
First off, you gotta understand, the sounds you capture in your studio are like surfers on the waves—each gotta have their own sweet ride. They need to carve out their own lane, making sure they’re not crashing into each other. This is where equalization comes into play. It’s like your own personal beach lifeguard, ensuring every sound has its own bandwidth to frolic in.
So, you’ve got yourself a mix that’s vibing more clam chowder than clear Pacific. Fret not! Throw on some polarized sunglasses, cause we’re about to shed light on some seriously practical EQ techniques.
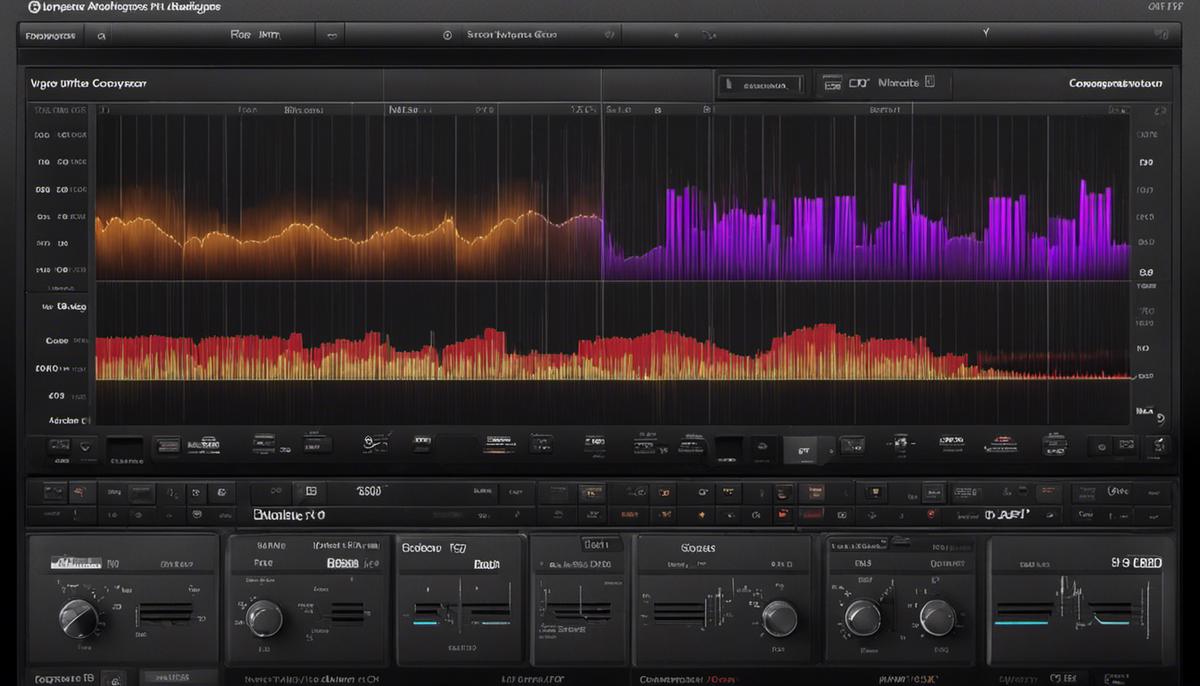
Most peeps don’t realize the magic bullet of why their mixes are sounding like tumbleweeds in the sand—it’s those cluttery frequencies. Crank up those brassy instruments or those low-frequency vocals to unnaturally high points, and your mix is gonna drown faster than a surfer without a board. One gnarly method to pull you out of the sand is to geek out with a frequency analyzer. This baby can help scrutinize which tones are overwhelming your beach party.
Remember our surfer – wave analogy? Well, imagine this: each frequency is like a wave, and the surfer is your particular sound. When high frequency waves come charging, the synth surfers are going to carve up those waves. But, when the giant waves roll in—the low frequencies—it’s time for the big dudes, your bass and kick, to charge. The EQing skill is adjusting the amplitude (or volume) of these waves to make sure no surfer is overwhelmed, or wipeouts so to speak.
Righteous, so you’ve nailed that down, but your mix is still hitting way more boggy than bodacious. It’s time to let in some sunshine with EQ sweep and cuts. A sweep is when you crank up a narrow frequency band and move it around, kind of like using a metal detector on the beach, looking for that buried treasure. When the unwanted noise rockets up like a rogue wave, that’s your cue to cut that frequency down. This helps clear up your mix faster than a lifeguard clearing a shark warning.
And do not forget about those high-pass and low-pass filters, my friend. They’re like the surf leashes for your sounds, keeping the unwanted low and high frequencies in check, preventing them from washing away the sound of your mix.
Surf’s up, and it’s time to ride the wave of EQ greatness. Remember every instrument is a surfer and your mix is the ocean. You gotta maintain balance to truly ride the high vibes of a well-crafted mix. Keep each sound in its own frequency lane and use your EQ tools to clear the way. Above all, just like catching waves, practice makes perfect. So grab your audio surfboard and hit those sound waves!

The Role of Compression in Mixing
Dude, straight talk, mixing jams in your wave cave is totally like riding the gnarliest wave, right? Like, it’s all about the flow and balance of different elements. So, let’s now wax our surfboards of wisdom and catch the next mondo wave of knowledge: compression in audio mixing.
Imagine the compression in audio land as the ultimate chillax wave tamer. Don’t get us wrong, wave crashers offer an adrenaline rush when surfing, but you don’t always need that in your mix space, dude. So, enters compression, the brah that mellows out the peaks and valleys of your audio waves, offering the smoothest ride ever!
Think of various sounds in your mix as surfers with their own unique wave styles. Some rip it hard, coming in hot and heavy, while others are laid back cruisers. Compression is like a rad surf coach, ensuring all surfers, regardless of their style, find the best part of the wave to ride, keeping them on a level playing field.
So let’s hula into clarity, my dudes. Ever wonder why some mixes sound clearer than the water in Maui on a sunny day? That’s compression at work, brah! It creates enough space for each of your instrument pals to hit the perfect wave, preventing any radical collisions that can muffle your sound totally killing the vibe.
Start by identifying the surfers (sounds) that tend to hog the wave more than others, those loud discordant sounds with long decays. Then, cinch up your board shorts and dive head-first into the turbulent ocean of compression settings. The threshold is your starting point, the point at which those wave hogging sounds will start being compressed. Attack settings determine the speed at which the compression dives into action, while the release controls how fast it releases its grip.
Once you get the hang of it, you’ll find that your mix sound has less sudden spikes and drops, and more of an even, consistent flow, letting your listener dudes effortlessly ride the rhythm and melody of your song without pesky sound dropouts or ear-blasting spikes.
It’s crucial to remember that nothing zonks the gnar of a mix like overdoing compression. Keep it mellow like a lazy right-hand point break. Over-compressing may squash the dynamic range, squeeze the life out of the mix and make your waves totally flat.
Stay stoked, brah! Let’s all remember that in the sonic surf, clarity is key. Using compression properly will keep your mix as smooth as a glassy barrel on a warm beach day. It’s game time! Get in that studio, crank the knobs, and make your surfer sounds sing like a sunset sesh with the crew. Jam that compression and mix your epic sound wave! Aloha and shred on, dudes!
Audio mixing is part science, part art – the effectiveness hinges on a balance of technical understanding and intuitive decision making. Having a firm grasp on the audio frequency spectrum, EQ principles, and the role of compression is vital in creating beautiful, clear audio mixes. However, it all comes down to the fine-tuning of these elements according to the requirements of each track. This essay imparts a detailed understanding of these aspects, allowing you to wield them astutely to avoid the dreaded muddy mix. Remember that patience, practice, and a good ear are your best allies on this path towards mastery in audio mixing.
Comments.
Currently there are no comments related to this article. You have a special honor to be the first commenter. Thanks!