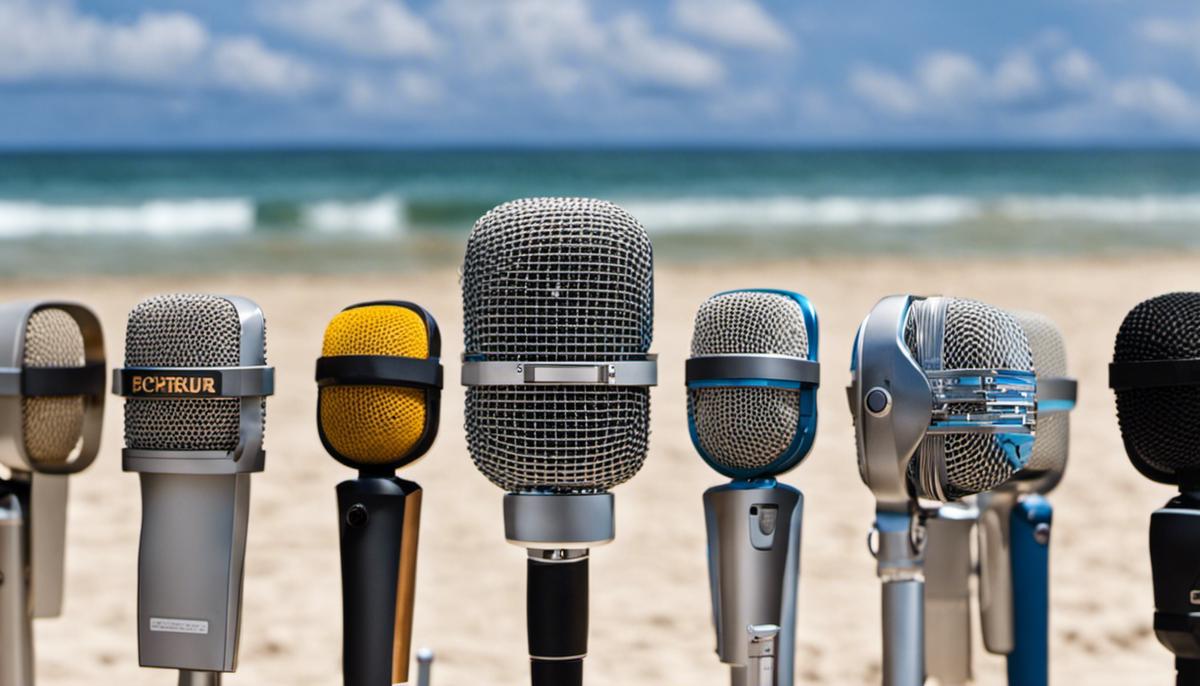
Sound quality significantly impacts the recording experience, making it essential to become adept in proper microphone placement techniques. A profound understanding of different microphone types not only enhance recording’s sound quality but also prevents potential sound distortion issues. This extend to grasping the characteristics of different microphones and understanding how they capture sound; it’s not merely about the equipment but how we leverage its capabilities. Additionally, familiarization with common microphone placement mistakes is crucial so as to pre-emptively avoid them, hence promising an optimal sound quality.
Understanding Microphone Types
The Sonic Swell Of Microphone Magic, Dude!
Drop in! Get ready to ride the sweetest sound wave with the comprehension of types of microphones and their radical influence on sound capture, my dudes. Keeping you super stoked on this gnarly knowledge!
Firstly, catch the lightning with Dynamic Microphones! Built tougher than a board on a wicked reef break, they combat high sound pressure levels like a champ, dudes. Thunders of rock‘n‘roll, drum kits, mondo guitar amps gotta be captured? Dynamic mics are the go-to surfboard to ride this sonic tsunami. They’re direct, resilient, and simplistically awesome!
Now, slide into the soft mystic sands of Ribbon Microphones. These beauties are all about the mellow roll, they accentuate the lows and highs but drop the midrange back some. They’re the longboard of mics, capturing the sound vibe like a slow cruise down a glassy point break. Use ribbon mics to swim in a sea of chill, laid-back sound waves, specifically with the likes of string instruments and smooth vocals.
Then, you have Condenser Microphones. These hotshots are the epitome of sensitive, like an unsurfed reef ready to explode with the right swell. They’re powered by an electricity source, externally or internally, to drive up sensitivity to float on all the intricate swells of your sound ocean. They crush, picking up the slightest whispers or delicate acoustic strums to the gnarliest bonnaroo-depth-of-the-night-jam-vibe. Just be gentle with ’em, these sensitive souls need extra care.
Shotgun Microphones are the mad bombers of mics! Like catching the monstrous, trickiest wave out there, they pick up sounds directly in front of them and cancel out ambient noise. They’re the weapon of choice for surf cinematographers, or in this case, broadcasters, field recording wizards, or filmmakers to catch the exact whispers of the wave while blocking out the heckling crowd.
Lastly, dive deep and jam with Lavalier Microphones! Small, like stealthy pebbles under curling waves, these bad boys are clip-on miracles. Perfect for interviews, podcasts, or live television where you wanna boost the voice wave and bury the rest under the sand. They’re chill, discreet, and a rad option when you crave unintrusive sound capture.
Remember, dudes, microphones are your quintessential sonic surfboards. Each with their unique ride, they take you on the journey of sound one wave at a time. So, choose your ride wisely, shred that sound wave and bask in the gnarly radness! Remember to spread the stoke and this righteous knowledge, because just like the ocean, when sound calls – you gotta ride it right! And if anyone claims there’s too many mics out there, remember, you can never have too many surfboards in the quiver. Surf’s up, audio dudes!

Identifying Common Microphone Placement Errors
“Dodging Microphone Placement Pitfalls: The Ultimate Wave to Acing Your Studio Sound”
Fellow studio toilers, I mean, voyagers! You’ve been riding the band wave, navigating the gnarly sea of sound and music with your trusty lineup of microphones. But, dude, even the tubular waves can drown you if you’re not tuned into the right frequency. And I’m not echoing those mic types you already know – dynamic, ribbon, condenser, shotgun, lavalier and the rest. No, no, this is all about evading those perilous pitfalls of microphone placement, man. So polish up your surfboards – or should I say, soundboards? Because we’re surging straight into it!
First up, avoid setting your microphone catch the “P” pops, the thunders of your “B” and the tsunamis of “S”. This treacherous pop filter plague can leave sonic splatter on your pristine audio landscape. Shield your mic from this rogue wave by angling it slightly sideways or by hanging loose about 6 inches away from the sound source.
Failing to match the mic to the task is another sick wipeout, dudes and dudettes. Amplifiers and drums throw off massive resonance – they’re like the biggest dudes on the beach, right? So, don’t leave weak condensers to tackle them alone – they’ll be swept away. Instead, pass them the heftier dynamic mic for those heavy jobs. Remember, every instrument has its unique sonic signature, like a unique surf style. Match your mic to the instrument, and you’ll be in the tube shredding with style every time.
Do not, like ever, use more microphones than necessary. Sounds crazy in this age of abundance, right? But listen, each additional mic can introduce phase issues – like your sound waves getting all tangled up and wiping each other out. That’s bad karma, man! So unless you’re recording a full orchestra or a punk rock band, the less-is-more principle is your cosmic mantra here.
Understand the proximity effect, dudes. Close mic’ing can up the bass response, but that’s not always a good thing, especially if your mix ends up sounding like a whale song. Get some space between the mic and source. Let the audio waves breathe, man.
The final word of advice from this gnarly old studio oracle: never, and I mean NEVER, overlook room acoustics. Your studio should be like your personal surf spot, with the waves or, in this case, the sound, in perfect harmony with the environment. Unwanted reverb can be a killer, so invest in some righteous sound treatment to keep those vibrations in check.
Remember, dudes – in the studio or on the waves, it’s all about balance, harmony and giving the sonic vibes room to shine. So gear up, paddle out, and ride your sound wave to perfection, keeping clear of these microphone placement pitfalls. Now go shred that gnarly studio wave, ya hear?

Photo by robinsonrecalde on Unsplash
Strategies for Better Microphone Placement
A Rad Breakdown on Amping Up Your Audio with Superior Mic Placement
Gnarly! Let’s pivot from the particulars of dynamic, ribbon, condenser, shotgun, and lavalier microphones, man, and take a toasty ride into the wild blue yonder of microphone placement. You don’t have to be as fastidious as a session musician tuning their guitar to perfect the art, just grab your surfboard and ride the wave to better audio.
One technique hotter than a summer in SoCal is the “angle game”. When you position your microphone at different angles relative to the sound source – we’re talking increments of maybe 15 degrees – the tonal characteristics can shift more dramatically than surf styles from the 60s to now. Be bold, experiment, and you might catch that golden sound curl everyone’s chasing.
Then, dudes, think about the height of your microphone, man. Lower positions naturally capture more bass tones due to boundary effect, so if your audio sounds more faded than a pair of 70’s bell bottoms, try hoisting that mic higher, my dude. You could end up catching the highs like a pro catching the break at Waimea Bay.
Ever get your fins stuck in the sand with off-axis coloration? It’s less rad than a wipeout at Mavericks but, fear not, bro. Microphones capture mid and high frequencies from the side differently than from the front. If the audio’s sounding more confused than a dude at a crossroad between two gnarly waves, try swinging it off-axis. It’s like switching moves mid-ride, might feel sketchy at first, but the results can be groovy.
Check this, though – when you’re surfing the sonic wave, you gotta keep the distance between your sound source and microphone consistent. Like maintaining your stance on a wavering longboard ride, it’s crucial. That way, you preserve the level, tone, and dynamic range finer than the separation between tracks on a Beach Boys vinyl.
And lastly, dudes and dudettes, ever heard of absorption and diffusion? It’s the off-the-wall, behind-the-scenes stuff that can jazz up your audio. Soft, porous materials (like foam or fiberglass) can absorb sound energy, reducing reflected sound and cleaning audio up more than a sandy beach after a surf competition. Diffusion, on the other hand, scatters sound waves, creating a balanced, warm audio environment that’s more comforting than a fireside luau.
So hang loose, audio amigos. Improving your microphone placement ain’t no mammoth task. It’s all about catching the sweet spots. With the right mindset and these gnarly tips, you’ll be riding high on the waves of audio excellence in no time. Now, let’s paddling back out into our audio ocean and catch that perfect sound wave, aho!

Armed with knowledge on the differing types of microphones and their unique characteristics, avoidance of common placement errors, and employing effective strategies for optimal microphone placement, enthusiasts and hobbyists are well positioned to achieve superior sound quality in their recording sessions. Remember, the essence of flawless sound recording lies in meticulous practice of microphone placement techniques—consider its distance to the mouth, its angle, and ensure to situate it in quiet environments without blocking it, thereby resulting in a richer and clearer audio output. As with all crafts, mastery comes with persistent practice and considerate attention to detail.

Comments.
Currently there are no comments related to this article. You have a special honor to be the first commenter. Thanks!